
As you can see here, they're a blonde sort of pine, kind of peachy fugly color. ONE POSITIVE, as I chose to look at it, was that there was no hardware on any cabinets (kitchen or bath). SO, that means one less step of having to remove it! And based on what I can see of the prior owner's taste, they probably would've been disgusting.
Because I was redoing both bathrooms and the kitchen cabinets (eventually), I started with the bathroom to make sure I had the process down. (And to make sure they looked good,)
So I removed all the doors, which actually takes no time. I cleaned them all with a rag and Krud Kutter cleaner before priming. This was advised to me because it gets rid of grease, oils, grime, etc. that can accumulate in the bathroom and kitchen. Then I began priming, using 2 coats of Zinsser Cover Stain Primer. I used a 4-inch cabinet roller for the majority and used a 2 in foam brush in the edges where I missed. It dried pretty quickly sooo prime, wait, prime, wait, flip, prime, wait, prime, wait. During my wait time, I taped around and primed the cabinet bases as well. I liked them better already.


Then you're ready for paint :)
(Because I was painting lighter cabinets with light paint, I didn't need to tint the primer. However, I believe you can tint this primer to be closer in color to the color paint you choose.)
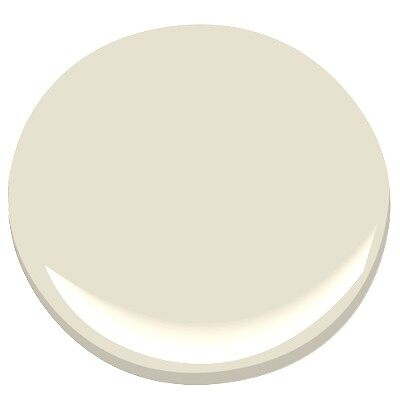
I chose to use Benjamin Moore Advanced paint on the cabinets because I'd read that it was a great choice for cabinets because (to put it in English) it has the properties of oil-based paint but is easy to clean. After talking with the girl at the paint store and trying a sample at home, I chose Benjamin Moore Feather Down for my cabinets. Colors don't show perfectly on monitors, but it is the perfect color I was looking for. Cream, not white, but no yellow undertones. It's pretty and warm. :)
I used the same method using the roller and going back with the small foam brush to paint anything I missed. I only used 1 coat of the paint, which was enough coverage, but did take about 16 hours to dry before flipping to the other side. I did the insides first, waited overnight, and painted the fronts last. I painted the cabinet bases in the mean time. MAXIMIZE that time!! :) *Notice how I didn't feel like emptying out my cosmetics from the drawers. Brave- I know. But that was just one less step ;)

After the paint was completely dry (another overnight wait because I didn't want to risk it), I wanted to use a glaze in the corners and edges of the doors to give them a defined and rustic look to them. I chose a Rustoleum glaze I found at Home Depot.

I followed the directions on the can and applied it with a small brush, only in the edges, and wiped excess off with a lint-free rag. (I used A LOT of these rags). The beauty of it is that the glaze doesn't have to be a uniform look. You can leave more in some places than others or whatever you think looks best. It has a slow dry time so that you can play around with it. I again waited overnight for it to dry. I applied 2 coats of a satin polyurethane to protect.
Then I put the doors/drawers back. AWESOME.
We installed the hardware with them on. The hardware we used was found on a site called Glide Rite. The prices could not be beat. The cup pulls I was looking at at Home Depot were around $4/EACH. No way, Jose. The pulls from GlideRite were $18.95 for a pack of 10 and the knobs $15.95 for 10. Umm... yes, please.


We installed, and I'm SOOO happy (for many reasons) to have hardware on my cabinets.
Here are the final results!


TA DA!!
No comments:
Post a Comment