Repaint Bath and Kitchen Cabinets!

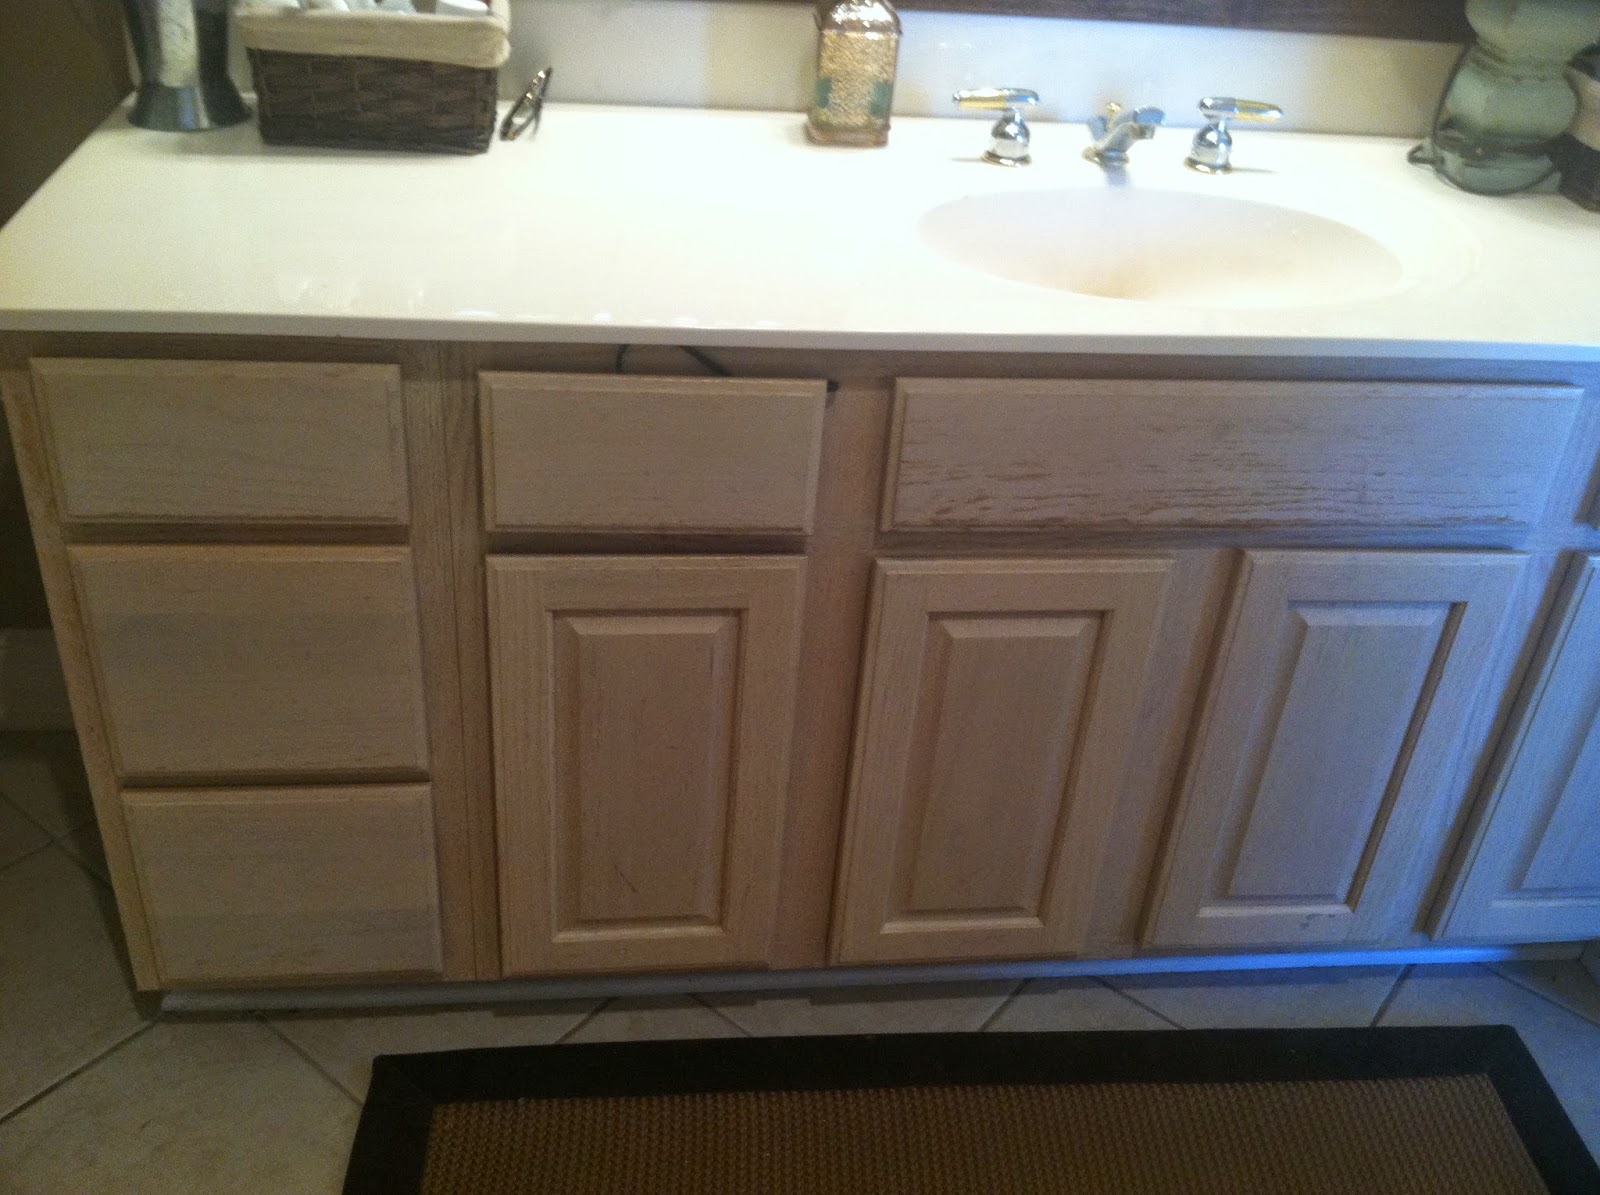
Aahhhh our ugly cabinets. When we bought the house, I didn't know what we were going to do with them. I knew they couldn't look like this for long though.

As you can see here, they're a blonde sort of pine, kind of peachy fugly color. ONE POSITIVE, as I chose to look at it, was that there was no hardware on any cabinets (kitchen or bath). SO, that means one less step of having to remove it! And based on what I can see of the prior owner's taste, they probably would've been disgusting. 
Because I was redoing both bathrooms and the kitchen cabinets (eventually), I started with the bathroom to make sure I had the process down. (And to make sure they looked good,)
So I removed all the doors, which actually takes no time. I cleaned them all with a rag and Krud Kutter cleaner before priming. This was advised to me because it gets rid of grease, oils, grime, etc. that can accumulate in the bathroom and kitchen. Then I began priming, using 2 coats of Zinsser Cover Stain Primer. I used a 4-inch cabinet roller for the majority and used a 2 in foam brush in the edges where I missed. It dried pretty quickly sooo prime, wait, prime, wait, flip, prime, wait, prime, wait. During my wait time, I taped around and primed the cabinet bases as well. I liked them better already.


Then you're ready for paint :) 
(Because I was painting lighter cabinets with light paint, I didn't need to tint the primer. However, I believe you can tint this primer to be closer in color to the color paint you choose.)
I chose to use Benjamin Moore Advanced paint on the cabinets because I'd read that it was a great choice for cabinets because (to put it in English) it has the properties of oil-based paint but is easy to clean. After talking with the girl at the paint store and trying a sample at home, I chose Benjamin Moore Feather Down for my cabinets. Colors don't show perfectly on monitors, but it is the perfect color I was looking for. Cream, not white, but no yellow undertones. It's pretty and warm. :)


I used the same method using the roller and going back with the small foam brush to paint anything I missed. I only used 1 coat of the paint, which was enough coverage, but did take about 16 hours to dry before flipping to the other side. I did the insides first, waited overnight, and painted the fronts last. I painted the cabinet bases in the mean time. MAXIMIZE that time!! :)  *Notice how I didn't feel like emptying out my cosmetics from the drawers. Brave- I know. But that was just one less step ;)

After the paint was completely dry (another overnight wait because I didn't want to risk it), I wanted to use a glaze in the corners and edges of the doors to give them a defined and rustic look to them. I chose a Rustoleum glaze I found at Home Depot.

I followed the directions on the can and applied it with a small brush, only in the edges, and wiped excess off with a lint-free rag. (I used A LOT of these rags). The beauty of it is that the glaze doesn't have to be a uniform look. You can leave more in some places than others or whatever you think looks best. It has a slow dry time so that you can play around with it. I again waited overnight for it to dry. I applied 2 coats of a satin polyurethane to protect. 
Then I put the doors/drawers back. AWESOME. 
We installed the hardware with them on. The hardware we used was found on a site called Glide Rite. The prices could not be beat. The cup pulls I was looking at at Home Depot were around $4/EACH. No way, Jose. The pulls from GlideRite were $18.95 for a pack of 10 and the knobs $15.95 for 10. Umm... yes, please. 

We installed, and I'm SOOO happy (for many reasons) to have hardware on my cabinets. 
Here are the final results!


TA DA!! 
DIY Framed Bathroom Mirrors

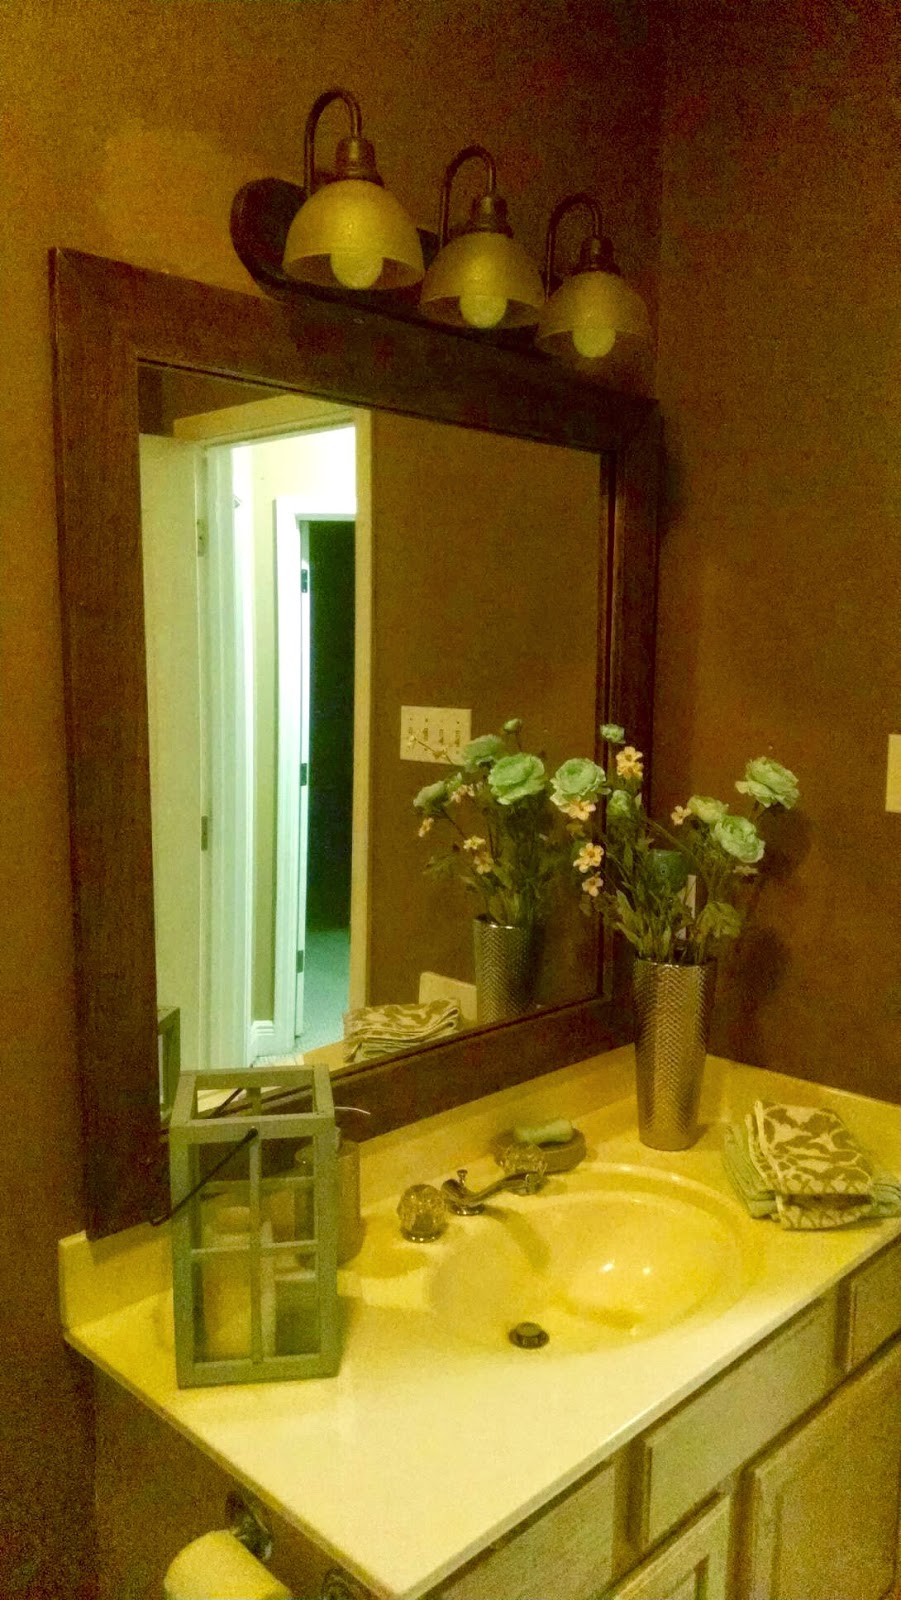
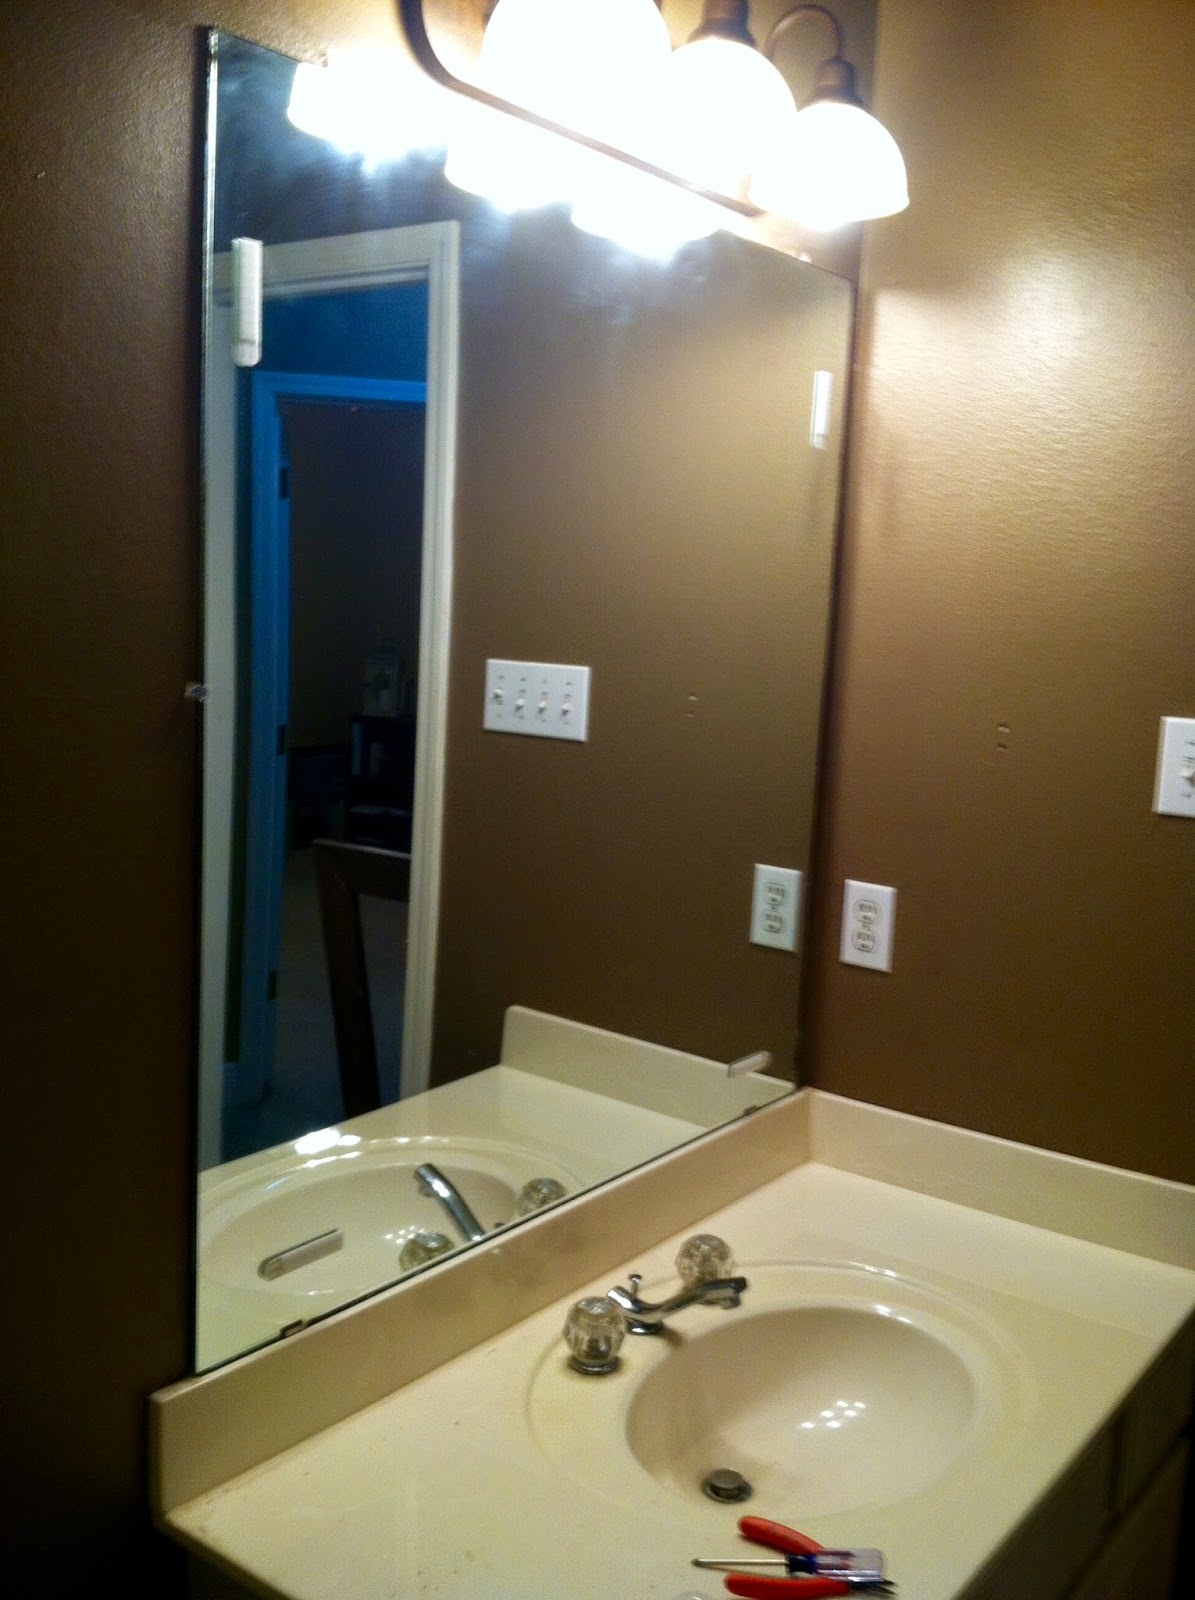
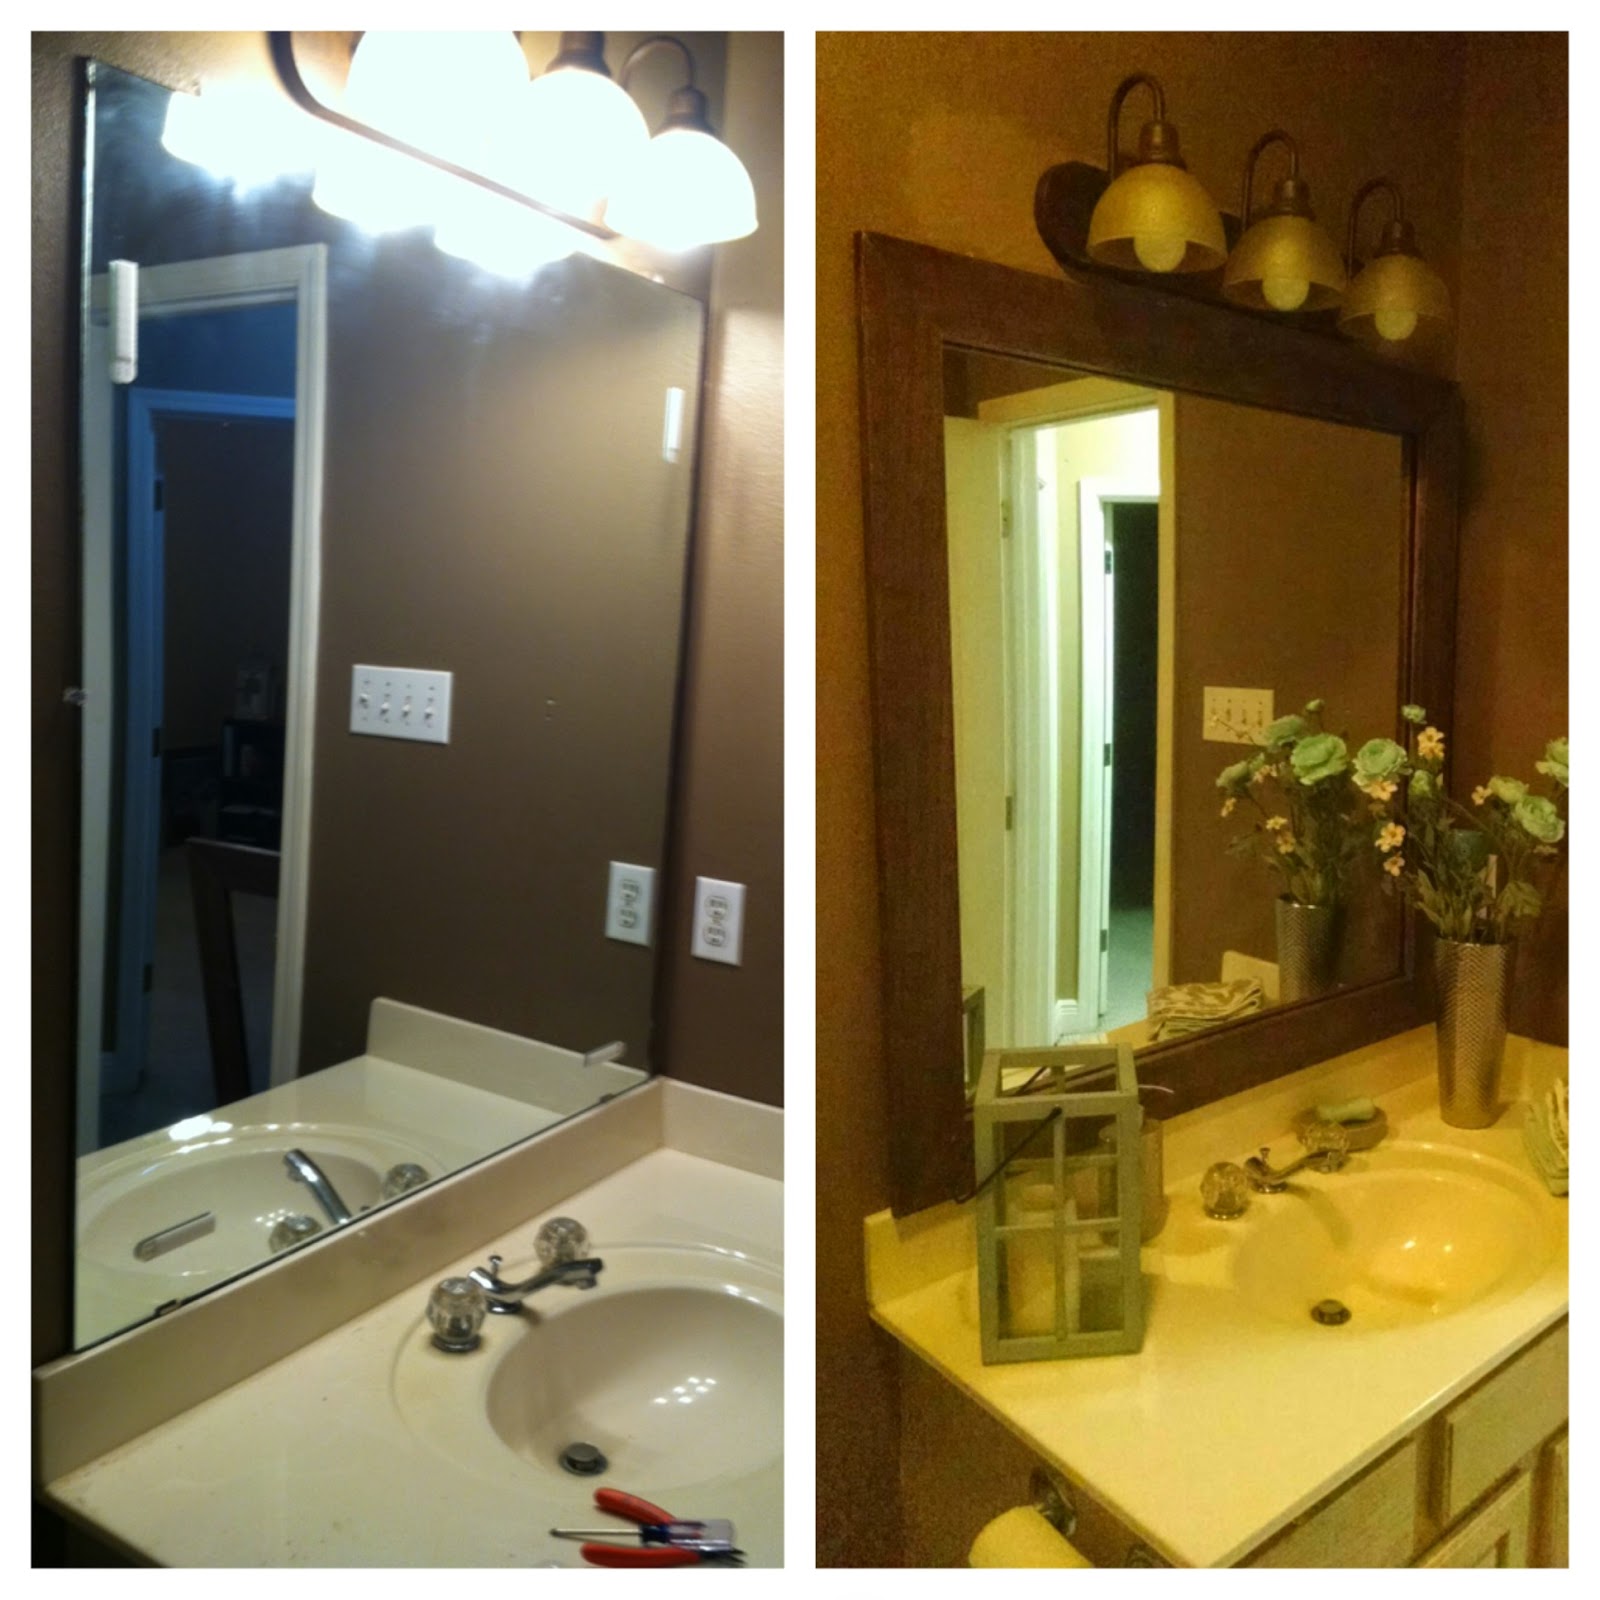
The first DIY we did on our bathrooms was framing our mirrors. The house already had mirrors of good size and in good shape. We felt that framing them would give them a finished, pretty look. And we were right :)
The inspiration came from the girls of Shanty 2 Chic. (Where a lot of my inspiration/ideas come from!) We started by measuring the size of the mirrors. We then added an inch to each measurement so the frame would be a tad larger than the exact mirror measurements. We bought the amount of boards we needed of 1x4 select pine from Home Depot. I'm sure you could use a cheaper option.  I was a little worried about the boards being bent or looking cheap, but I doubt it would make a big difference. We cut 45 degree angles in the boards according to the measurements (long point to long point). I used the Kreg Jig that the Shanty girls always raved about and drilled holes in the short boards to connect to the long boards. 
I gave it a quick and light sand and stained it with Minwax Dark Walnut stain. Once I wiped that, and it dried, I applied 2 coats of a satin polyurethane. 
We removed the larger clips that were holding the mirror in place and found some smaller ones and used some short nails with large heads and nailed those in the wall which helped the mirror to stay in place. * Personal note: my husband (who likes to use 15 methods for securing)- left brain. Me (who uses hot glue for anything feasible)- right brain. EVERY DIY we have done includes a LITTLE overkill because of his need for that sense of security. I love to bitch at the time, BUT I do admit that we are a perfect team and balance for projects. And if that's what it takes for him to DIY with me, I can deal :) 
To hang, the girls recommended using 3M Command picture hanging strips. One set of 4 large strips was perfect. These "click" into each other and are perfect for something you want to fit flush to the wall (or mirror) like these. 
It was such an upgrade and did so much for the bathrooms!  (Sorry for the poor picture quality!)
Pictures of the master bath to come soon :)


DIY Rustic X Console & Coffee Tables!

Hi!

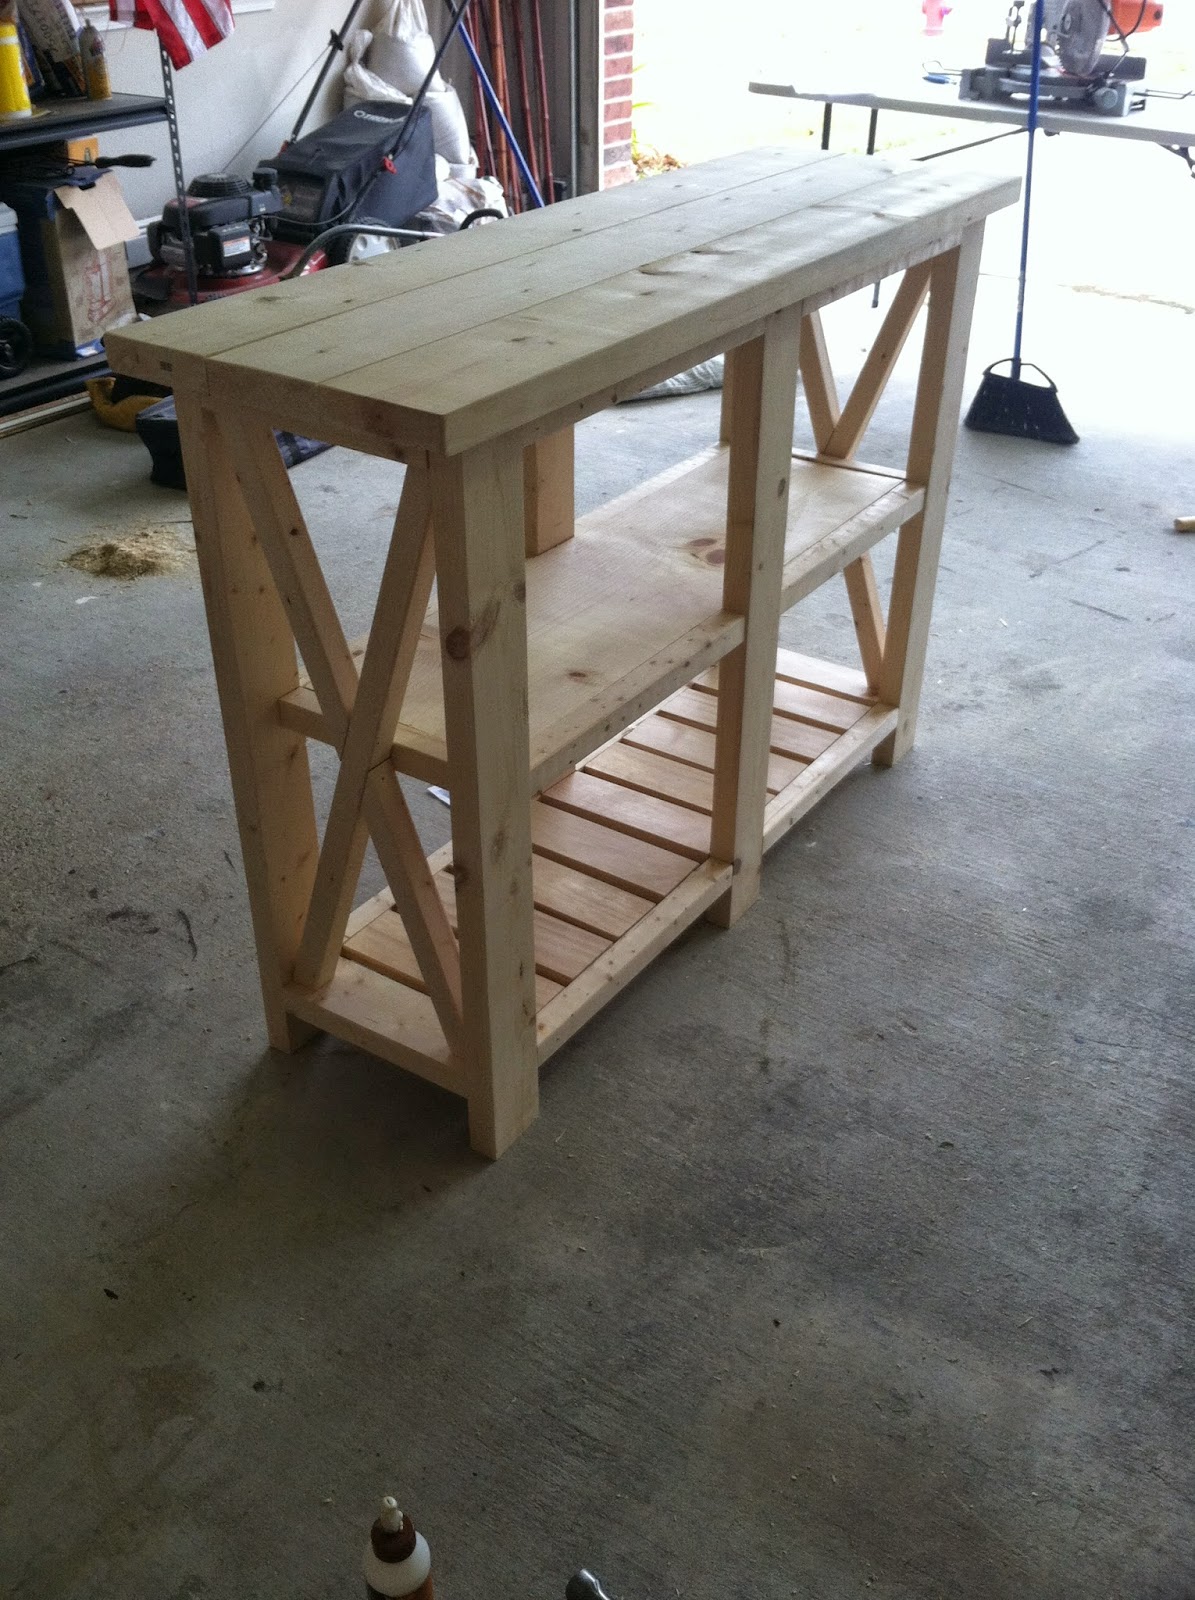
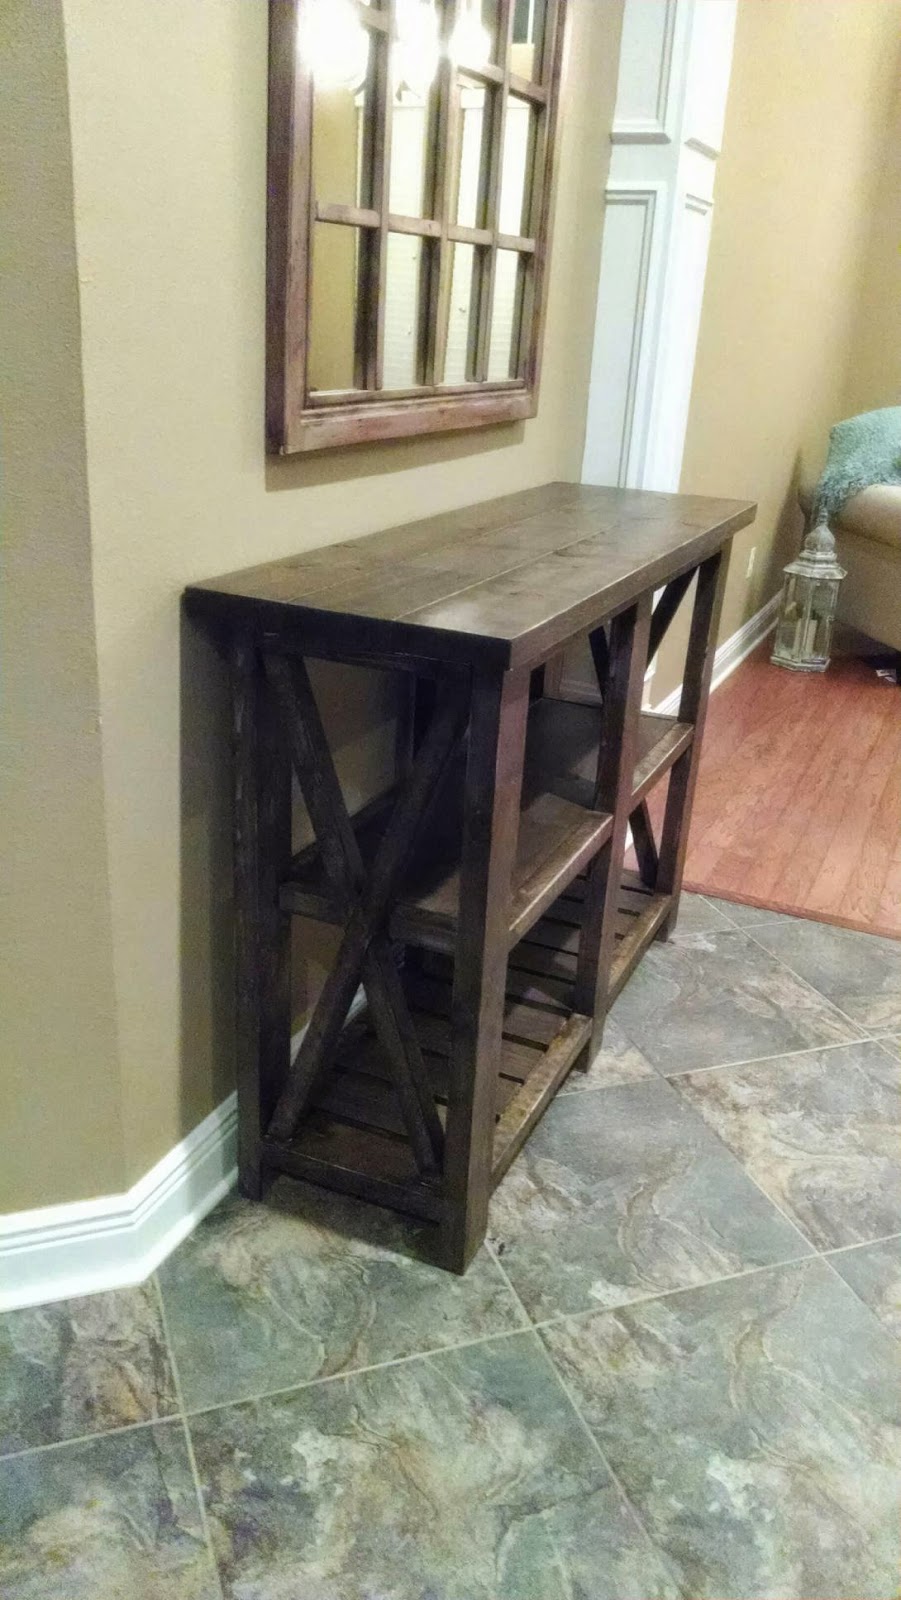
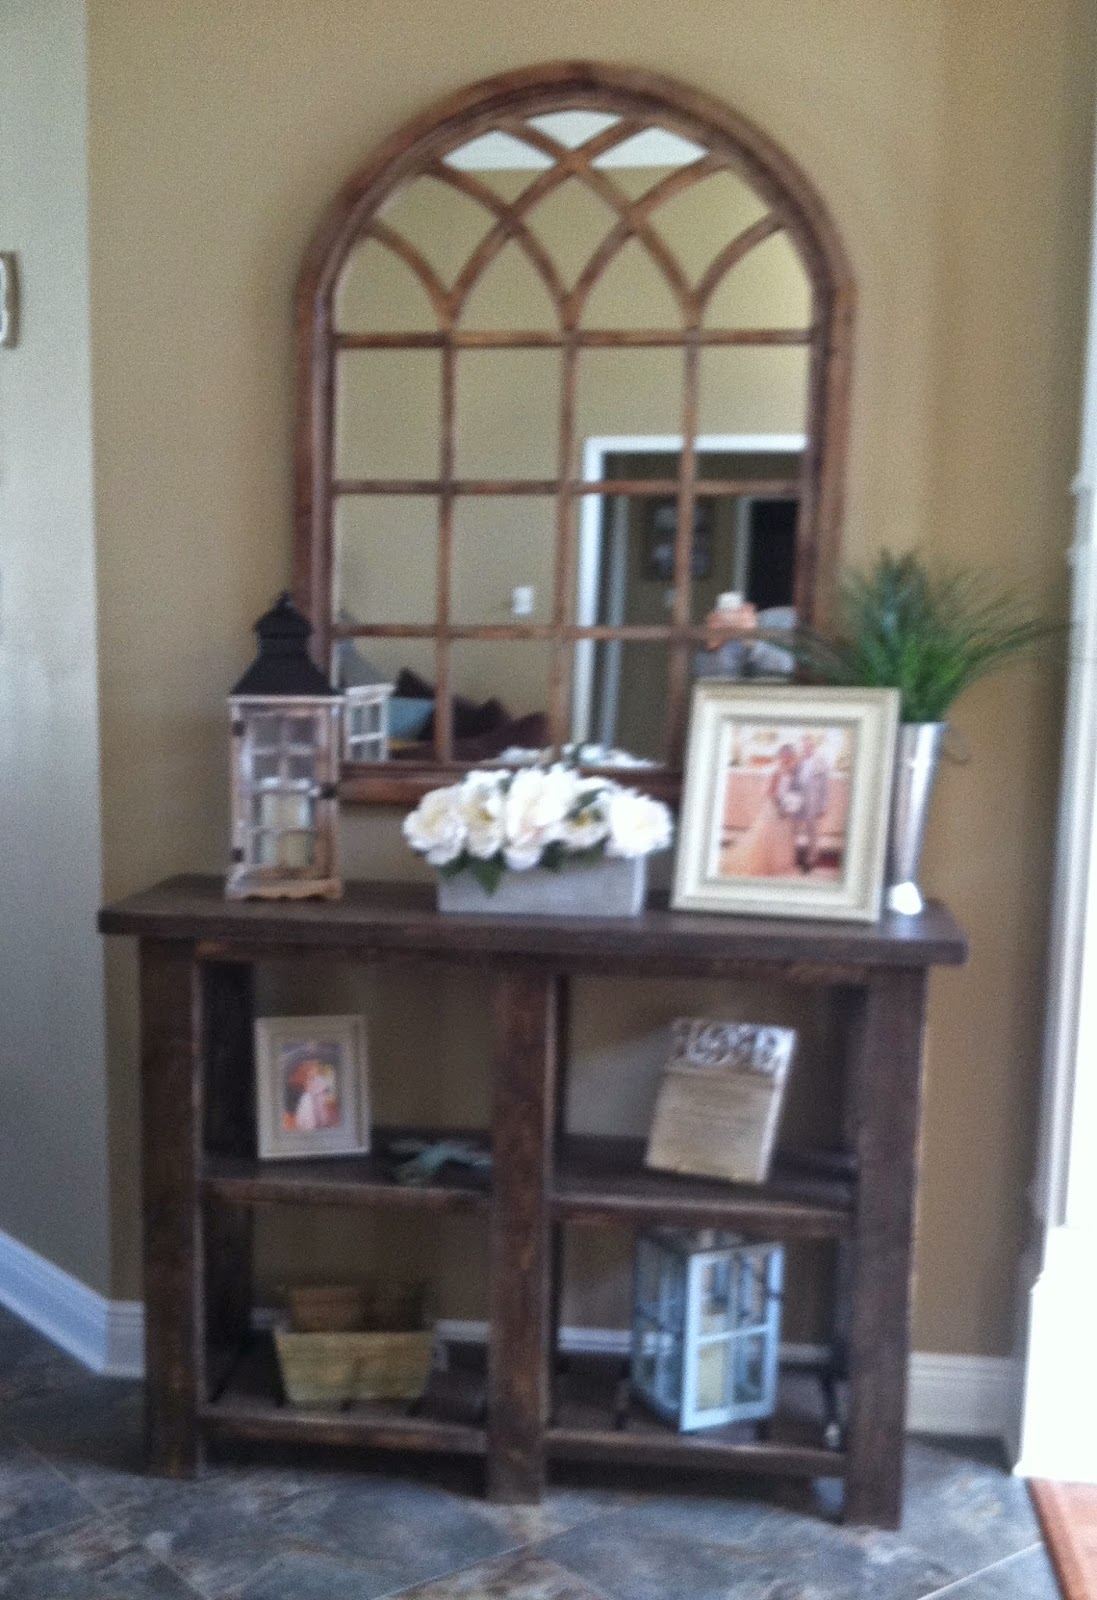
I recently decided to tackle building some tables for our home, including a coffee table and a console table. My new hubby (reluctantly) agreed to help after I begged. I found a table I liked from, of course, Ana White's website. If you aren't familiar with it, she is crazy AWESOME, and you can find plans to build anything on there! HERE are the original plans for the console and HERE are the plans for the coffee table. We modified both so the tables would be perfect for the spaces we had in mind for them. (Of course, I had to be difficult..) We wanted a shorter in length/taller in height console table and a more square/less rectangular coffee table. The console took us about a day. The X's on the sides were the most time consuming part since we changed the dimensions of the table, the angle of the X's had to be changed.. who knew?! My husband, the engineer, did. He, who is completely left-brained, busted out the calculator and started figuring out the cosine or tangent or some crap for the angle. And I, right-brained, criss-crossed the boards in the space and marked where to cut with a pencil.. (and it worked). We also decided to do a slatted bottom, instead of one board, which, of course, made it a little more difficult, but worth it :) After tackling that table, the coffee table was a breeze and took about 4 hours to build. I used Rustoleum Weathered Gray stain on them first and then Rustoleum Dark Walnut stain on top of that. I felt that having the gray underneath it warmed up the dark brown color a bit! The console cost us about $60 total and the coffee table about $35!! Hell yea.  Here are our results: